


 Call Us
There’s something that perfectly nostalgic and creatively satisfying about making paper snowflake cutouts. This simple, all-ages activity is a great way to provide some festive cheer around your home and give the family a fun way to spend time together in the colder months—that doesn’t involve a screen (how rare!).
Here are some simple instructions on how to make the perfect paper snowflake cutout along with some design template ideas to get your creative juices flowing. All you need is some paper and a pair of scissors!
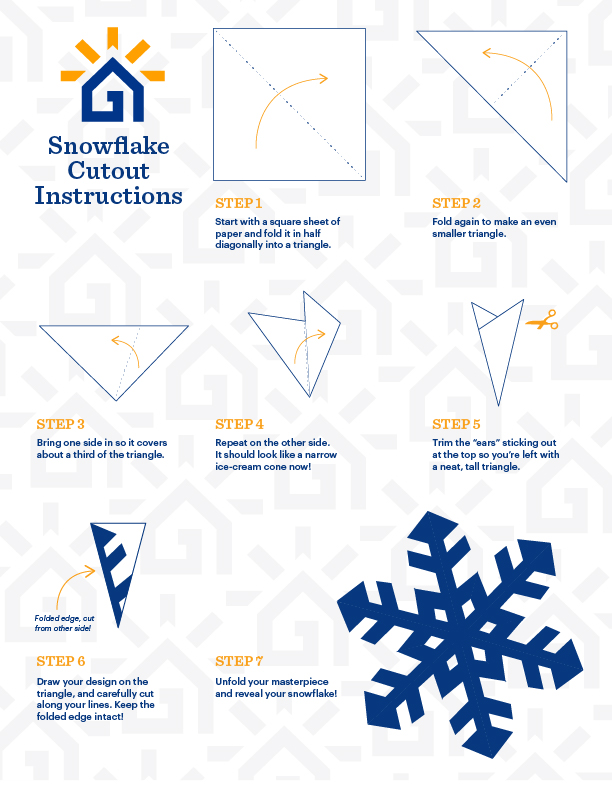
Step-by-Step Snowflake Cutout Instructions
To begin making any paper snowflake cutout, you need to first prepare your paper with a series of folds and trimming. It sounds complicated, but it’s quite simple—we’ll walk you through each step to make sure you get the perfect snowflake cutout every time.
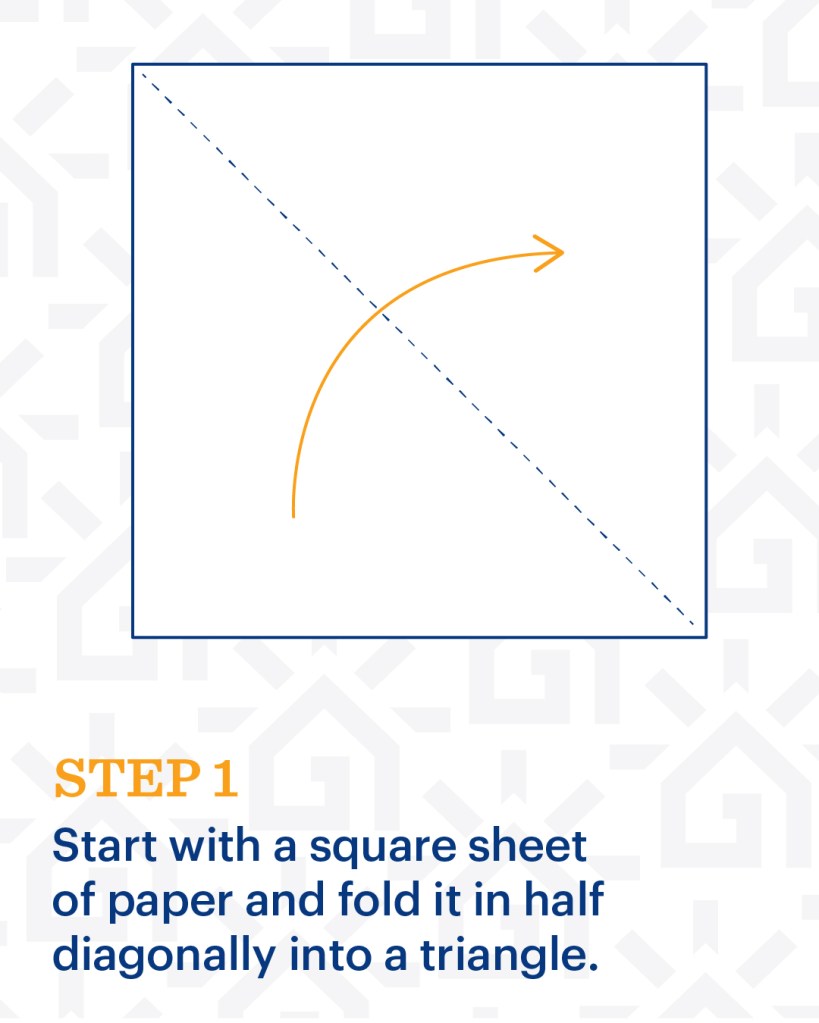
Step 1: First Fold
Start with a sheet of paper that’s cut into a square shape—all sides should be an equal length. Bring one corner of your paper to the corner directly opposite to fold your paper in half diagonally.
Pro Tip: If you’re starting with paper that isn’t a square and you don’t have a ruler handy, here’s a quick fix:
- Turn your paper so that the shorter side is at the top and bottom.
- Similar to the Step 1 instructions, bring one of the bottom corners to the opposite side. Once the bottom of the paper is directly in line with the side of the paper, complete the fold.
- You should now have a folded triangle, with some excess paper on the top. Simply trim off that excess paper, and you’ve completed Step 1!
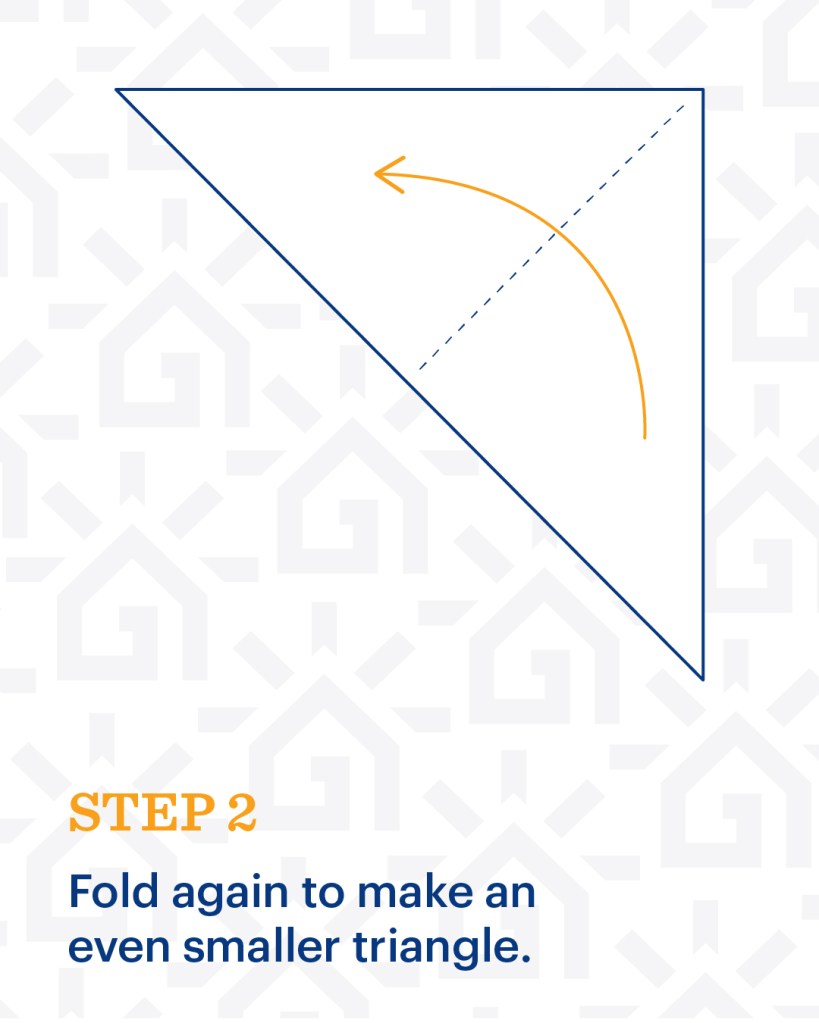
Step 2: Second Fold
Fold your triangle in half again. Do this by bringing one of the smaller, or acute, angles to the other. Doing so should result in a smaller folded triangle.
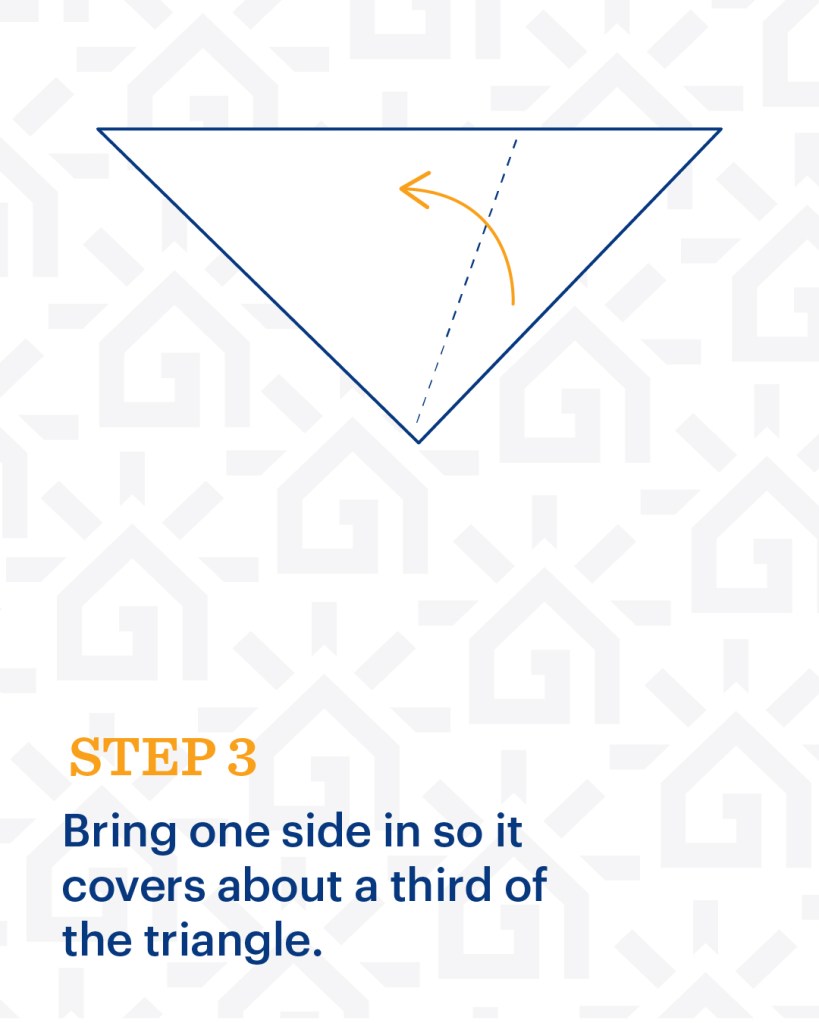
Step 3: Third Fold
Starting with the longest side at the top, fold one of the outside corners across leaving about 1/3 of your original triangle uncovered.
Pro Tip: if you’re not sure if you did it correctly, peek ahead to step 4!
Step 4: Fourth Fold
Bring the other outside corner over for a matching fold to Step 3. The fold should be alongside the inside edge of the first fold (see dotted line in diagram below) and the outside edge of the side you’re folding should line up directly with the new outside edge created in the previous step. If both of those things aren’t true, adjust your Step 3 fold so that both sides are folded in evenly with no gaps or excess.

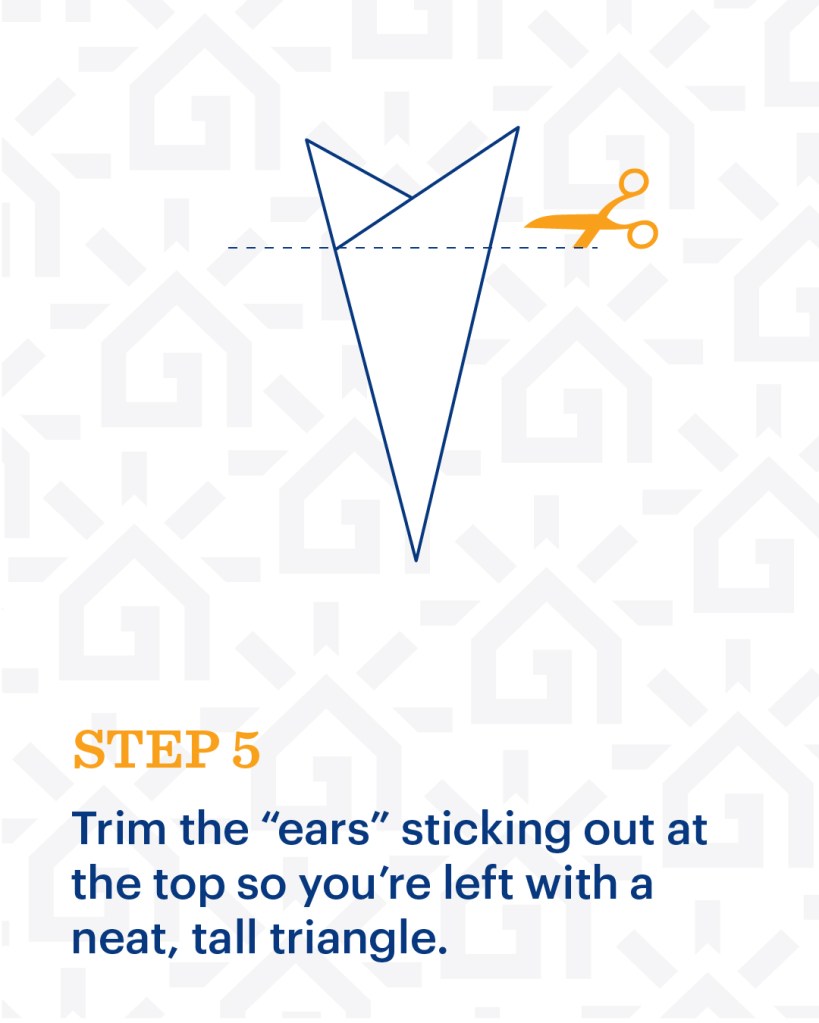
Step 5: Trim
With the two, even folds complete, there should be two corners sticking up at the top that look like cat ears. There will be a clear horizonal line made by the edge of some paper where the “ears” start. Cut along that horizonal line to trim those excess corners off. You should be left with just a tall, thin triangle.
Step 6: Design & Cut
Here’s where the personality of your snowflake cutout comes to life! Identify the long sides of your triangle: one is a folded edge and one is an open edge. Think of the folded edge as the inside of your snowflake and the pointed corner at the bottom as the exact center. Draw your design while keeping in mind that you’ll be cutting only from the OPEN EDGE side. If you cut along the folded side, you’re snowflake will fall apart.
Once you’re ready, cut only from the open edge side to create your snowflake shape.

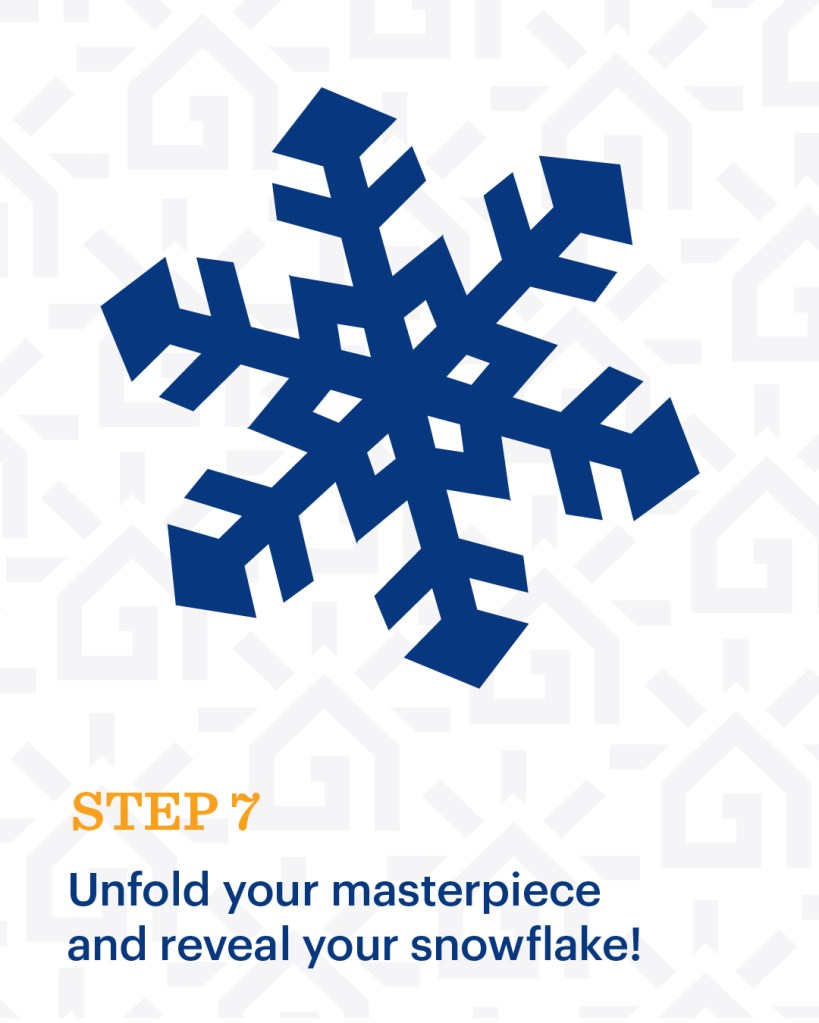
Step 7: Unfold & Reveal
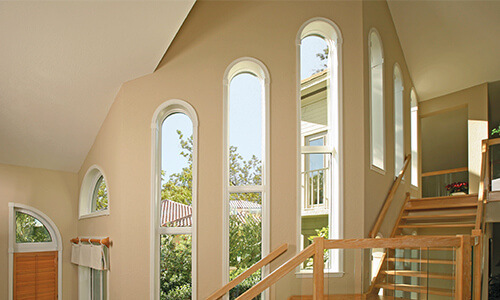
When you’ve finished your last design cut, carefully unfold your snowflake to reveal your completed masterpiece! If you’re not completely satisfied with your design, refold your snowflake and make some trimming adjustments. When it’s done, hang them in your window for maximum festive views!
Paper Snowflake Cutout Templates
With paper snowflake cutout designs, the possibilities are endless. For some, that sounds very exciting and they’re ready to just dive in and discover new designs. If that’s you, great! Go get started! But if the thought of cutting out a design freezes you in your tracks, we have some templates to get you started.
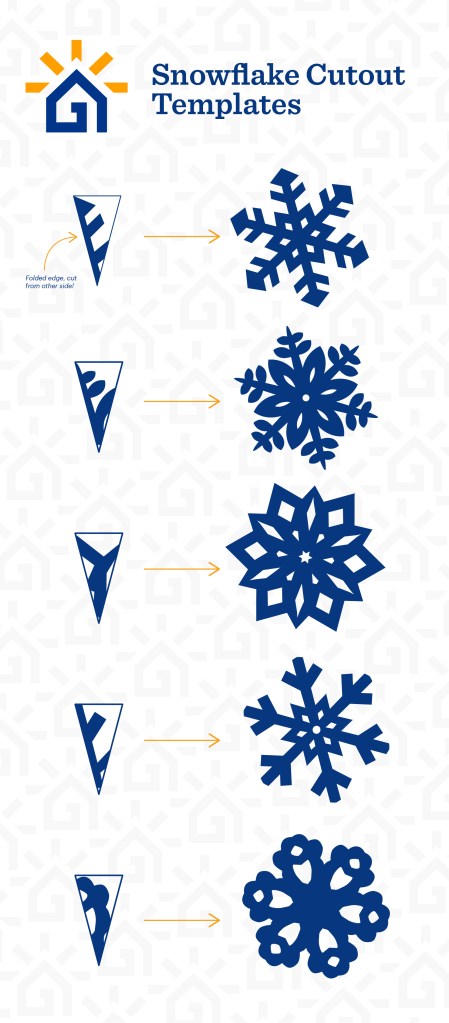
Remember: keep the folded side of your folded snowflake intact. In the above templates, the part you should be cutting is in white. The blue is the snowflake that remains.
Downloadable Snowflake Cutout Instructions & Templates
If you’d like to save this info on how to cut out paper snowflakes for later, use the download links below to save a pdf file of our step-by-step instructions and design templates.
Download Paper Snowflake Cutout Instructions
Download Paper Snowflake Cutout Design Templates
Inspired to Get New Windows?
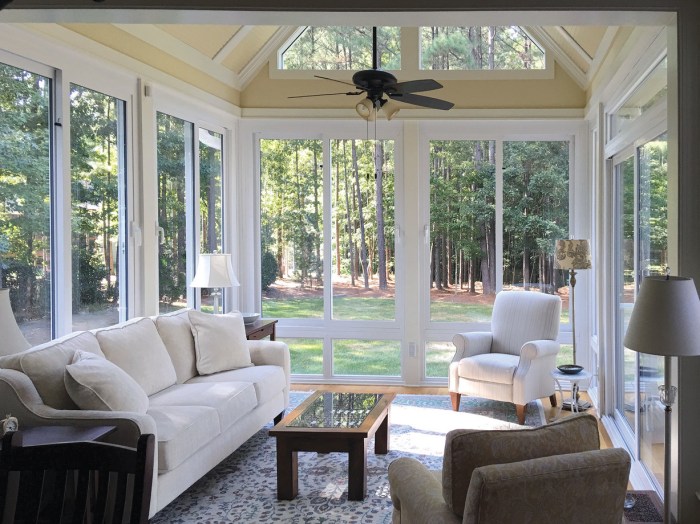
If the fun and festive activity of hanging paper snowflakes in your windows has you wondering if it’s time to upgrade your windows, Great Day Improvements can help! The benefits of new windows are huge:
- Improved Energy Efficiency
- Increased Resale Value
- Maximum Temperature Comfort
- Easier to Clean & Maintain
- Updated Styles & Personalization Options
Regardless of how many questions you have, our home experts will guide you every step of the way during the renovation process. Get a free quote to learn how our high quality, energy-efficient windows could benefit your home.


